Here's a tutorial to show you a quick way to make a bonnet from a vintage handkerchief. You need a handkerchief:
You also need sewing thread, a safety pin, matching ribbon in 1/8th inch and 5/8 inch widths and two small vintage buttons. You will want some FrayCheck or clear nail polish for the ribbon edges.
1. First press the handkerchief flat, then (wrong sides together) press a fold on each side. One fold should be larger than the other. I'm showing two bonnets, so you can get an idea of different designs.
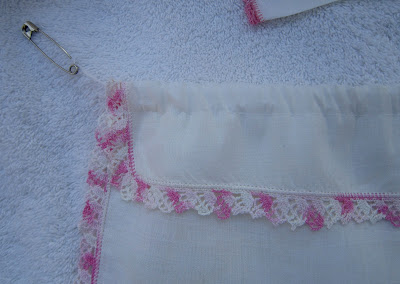
2. Machine or hand stitch a casing along the long side of the narrower fold about 1/2 to 5/8 inch from the fold. This will be the back ruffle.
3. Hook the safety pin to the narrow ribbon and thread it through the casing.
Unhook the pin, Hold both ends of the ribbon, gather the bonnet and tie a bow.
4. To make the ties, fold the loops as shown and sew one to each side of the bonnet, also sewing a button on each side.
5. Alllll done! FrayCheck the edges of the ribbon. Put it on the baby!
Happy Sewing!! Love, Linda


Oh my goodness...these are so beautiful! Thank you for sharing! Happy March 1st to you my talent friend. xo
ReplyDeleteLinda, This is so beautiful...very delicate and soft looking. I love it. Thanks for sharing.
ReplyDeletelovely tutorial thank you...but as I would need to ''acquire'' a baby to use one of these I think I will give it a miss...my other half may well need your medical attention otherwise!
ReplyDeleteLinda, that is the sweetest bonnet and such a wonderful idea. Thank you so much for the tutorial.
ReplyDeletexo
Claudia
wow so simple, but I dont have a sewing machine!! So I guess I am out of luck! I will just by from you if I ever get pregnant and its a girl!!
ReplyDeletewhat size is the hankie?, i would like to make my own.
ReplyDelete